

Overview
Digital Ocean the official hosting partner of the Ghost open source project, and our favourite provider! Our teams have worked together to make installing Ghost on Digital Ocean VPS droplets as easy as possible for developers, with officially supported 1-click marketplace apps.Prerequisites
For this install there are three things which you need to have ready up-front:- A DigitalOcean account (This signup link will give you $100 free credit)
- Your SSH key added to the account. Follow these instructions
- A domain name to point at your new site (Mandatory for SSL configuration during install)
Setting up the marketplace app
Head over to the official Ghost app in the Digital Ocean marketplace, and click on the “Create Ghost Droplet” button.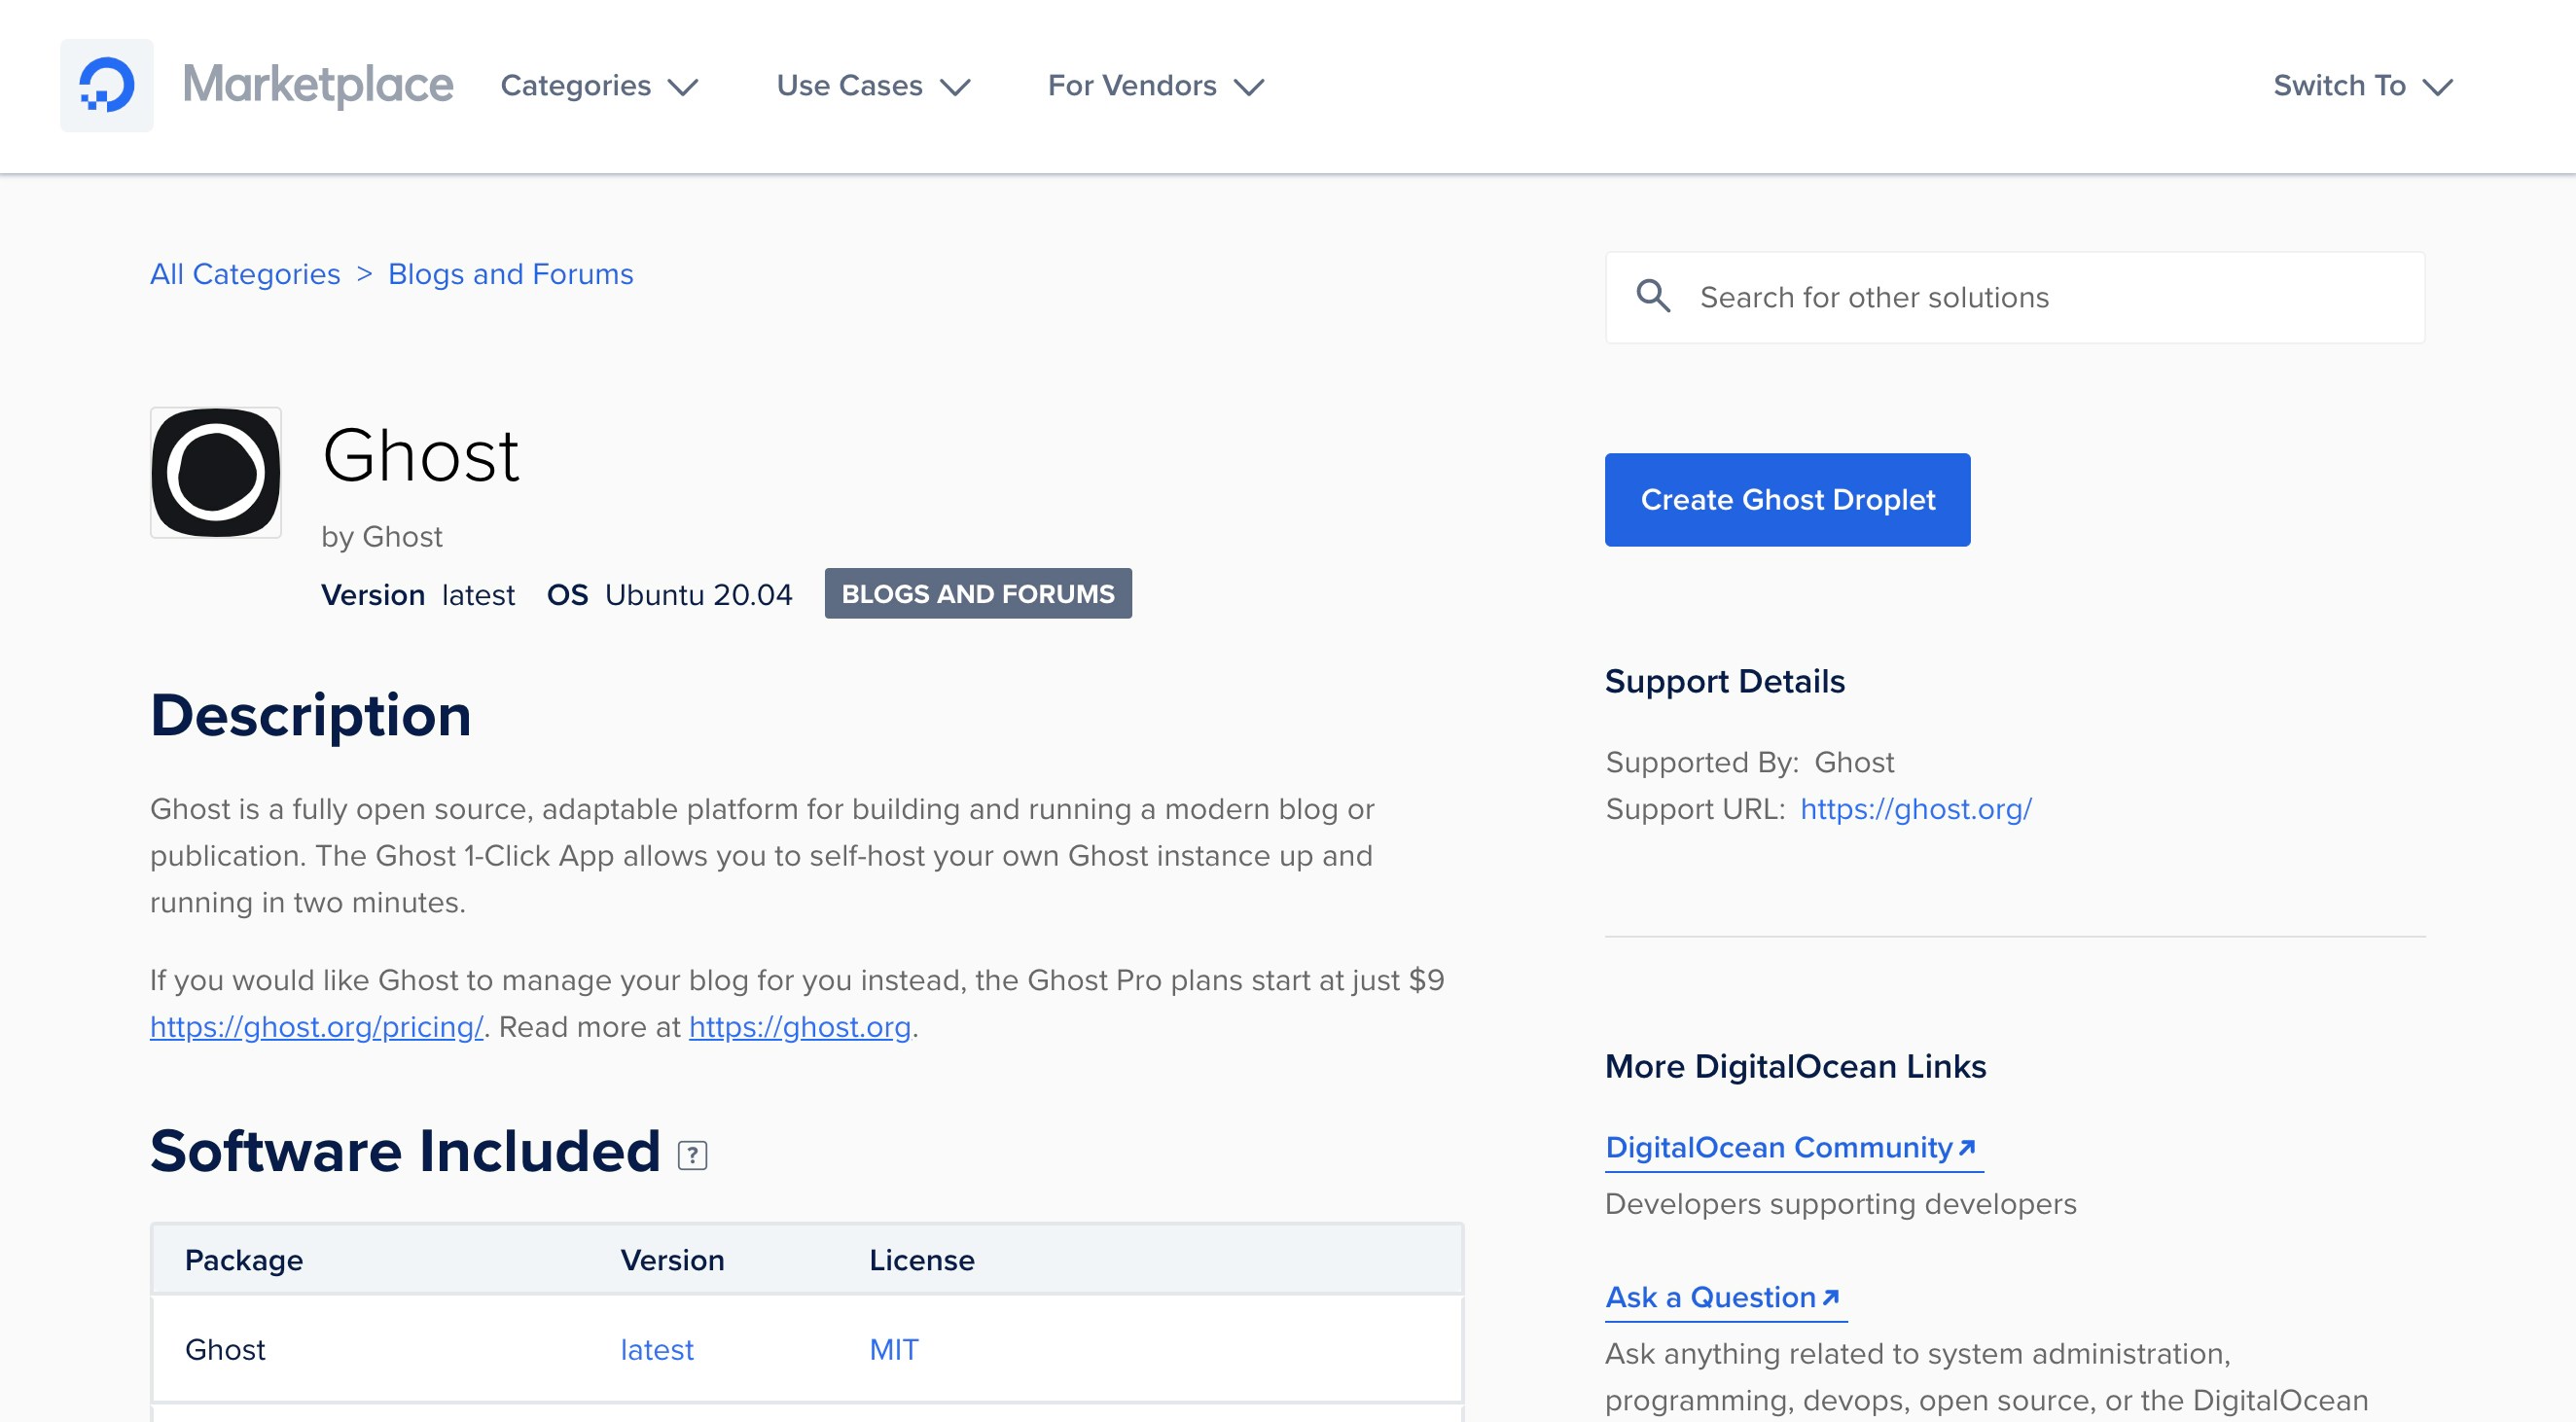
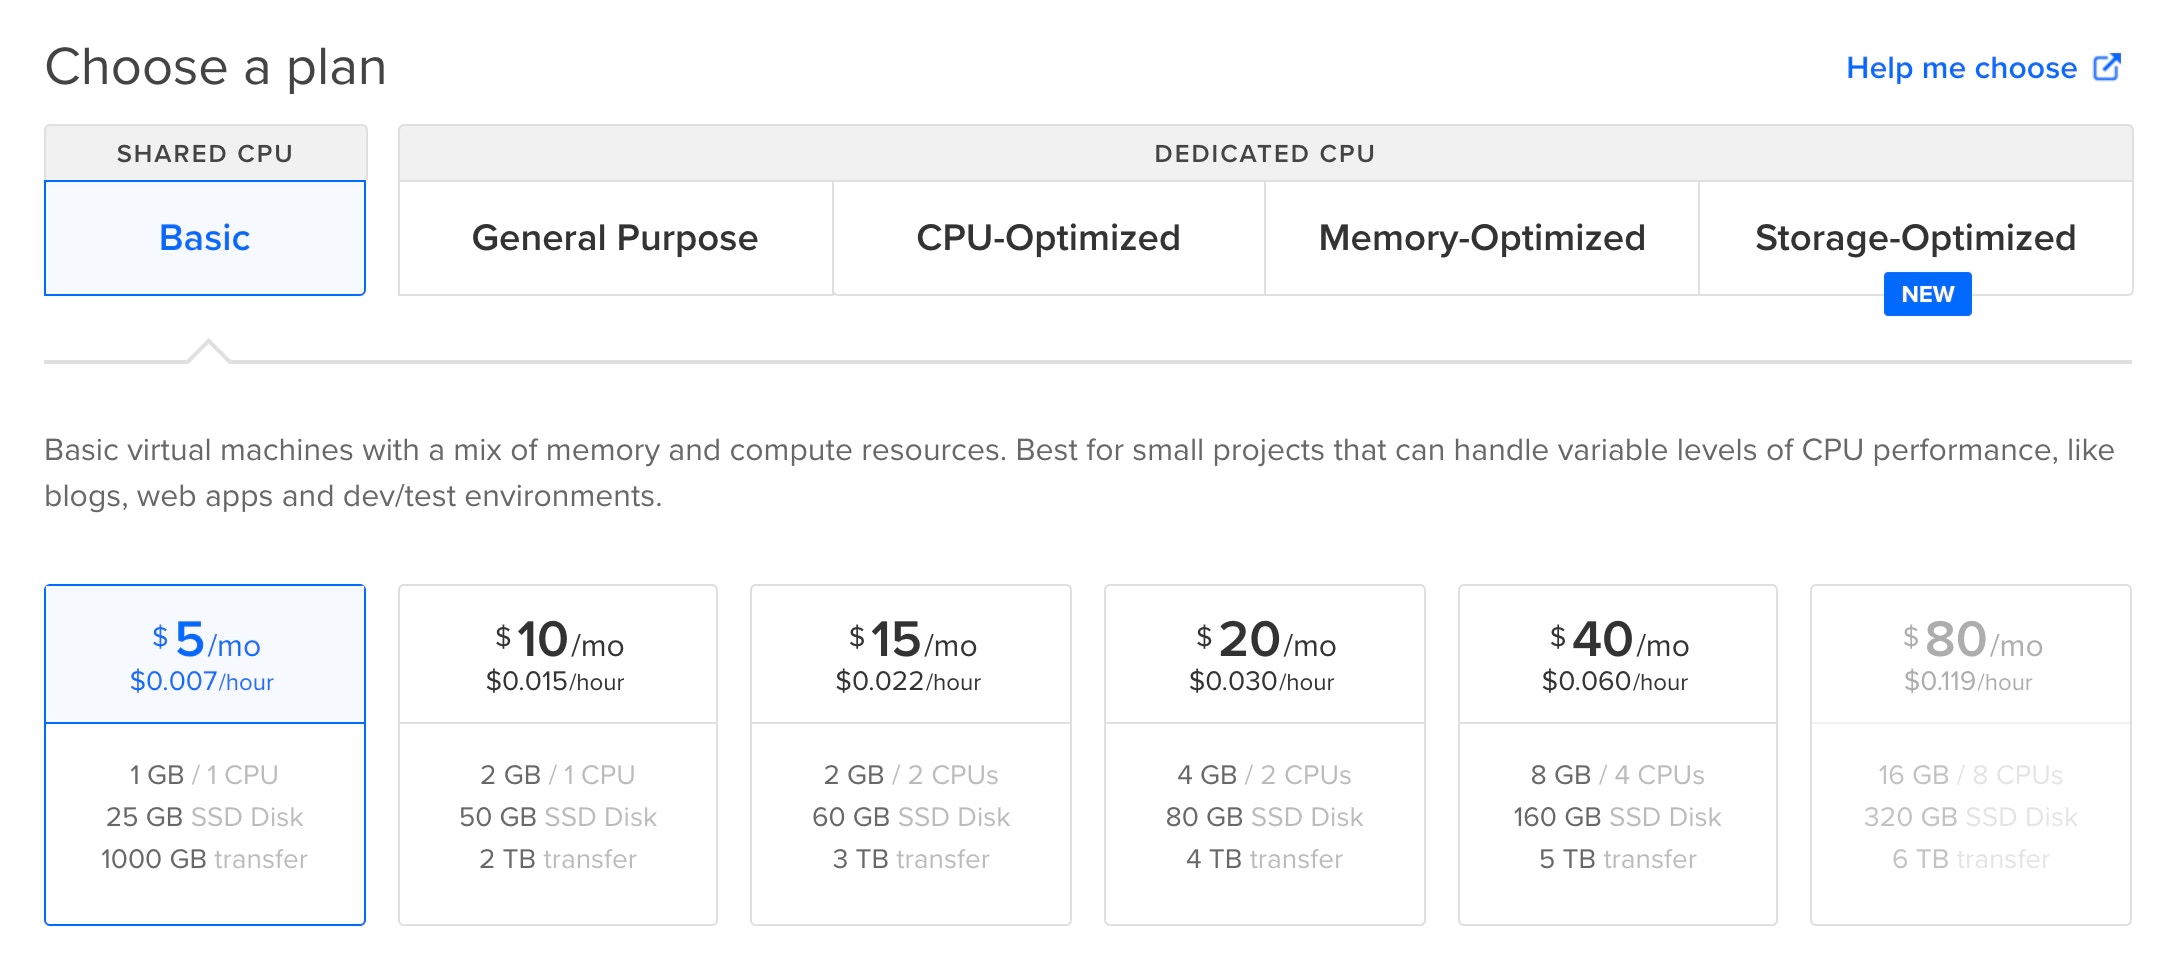
Server Setup
Once the Droplet has been created you will have an IP address to log into. Open your terminal and login to your new server as the root user, with SSH:Configuring your domain
It’s best to set up your domain and DNS at this point so that SSL certificates can be automatically provisioned during the install process. Create an A-Record from your domain, pointing at your server’s IP address, then pressEnter in terminal when you’re ready.
Setting up Ghost
Ghost-CLI will now install and configure Ghost for you, and along the way it will prompt you with some questions about how you’d like things to be set up: Blog URL Enter the exact URL (the domain you pointed at your droplet’s IP address) that your publication will use, and include the protocol for HTTP or HTTPS. For example,https://example.com. If you use HTTPS, Ghost-CLI will offer to set up SSL for you.
Your new site
Once the install is finished you’ll be able to access your new site onhttps://yourdomain.com and https://yourdomain.com/ghost to access Ghost Admin ✨
That’s it! You’re done.
Configuring mail
Ghost needs a mail provider configured to send transactional email such as staff invites, password resets and member signup links. Follow the mail configuration guide to add your credentials.Future maintenance
Once Ghost is properly set up it’s important to keep it properly maintained and up to date. Fortunately, this is relatively easy to do using Ghost-CLI. Runghost help for a list of available commands, or explore the full Ghost-CLI documentation.
What to do if the install fails
If an install goes horribly wrong, useghost uninstall to remove it and try again. This is preferable to deleting the folder to ensure no artifacts are left behind.
If an install is interrupted or the connection lost, use ghost setup to restart the configuration process. If the install succeeds, but starting Ghost fails, you can try starting ghost manually with ghost start.
For troubleshooting and errors, use the site search and FAQ section to find information about common error messages.